Compliance Just Got Easier: Stay ahead of regulatory changes with instant notifications on updates that matter.
['Enforcement - DOT']
['Out-of-service criteria - Motor Carrier', 'Roadside Inspections']
02/12/2026

Copyright 2026 J. J. Keller & Associate, Inc. For re-use options please contact copyright@jjkeller.com or call 800-558-5011.
:
|
InstituteFleet SafetyIn Depth Sub Topics (Level 4)Out-of-service criteria - Motor CarrierTransportationEnforcement - DOTEnglishRoadside InspectionsAnalysisFocus AreaUSA
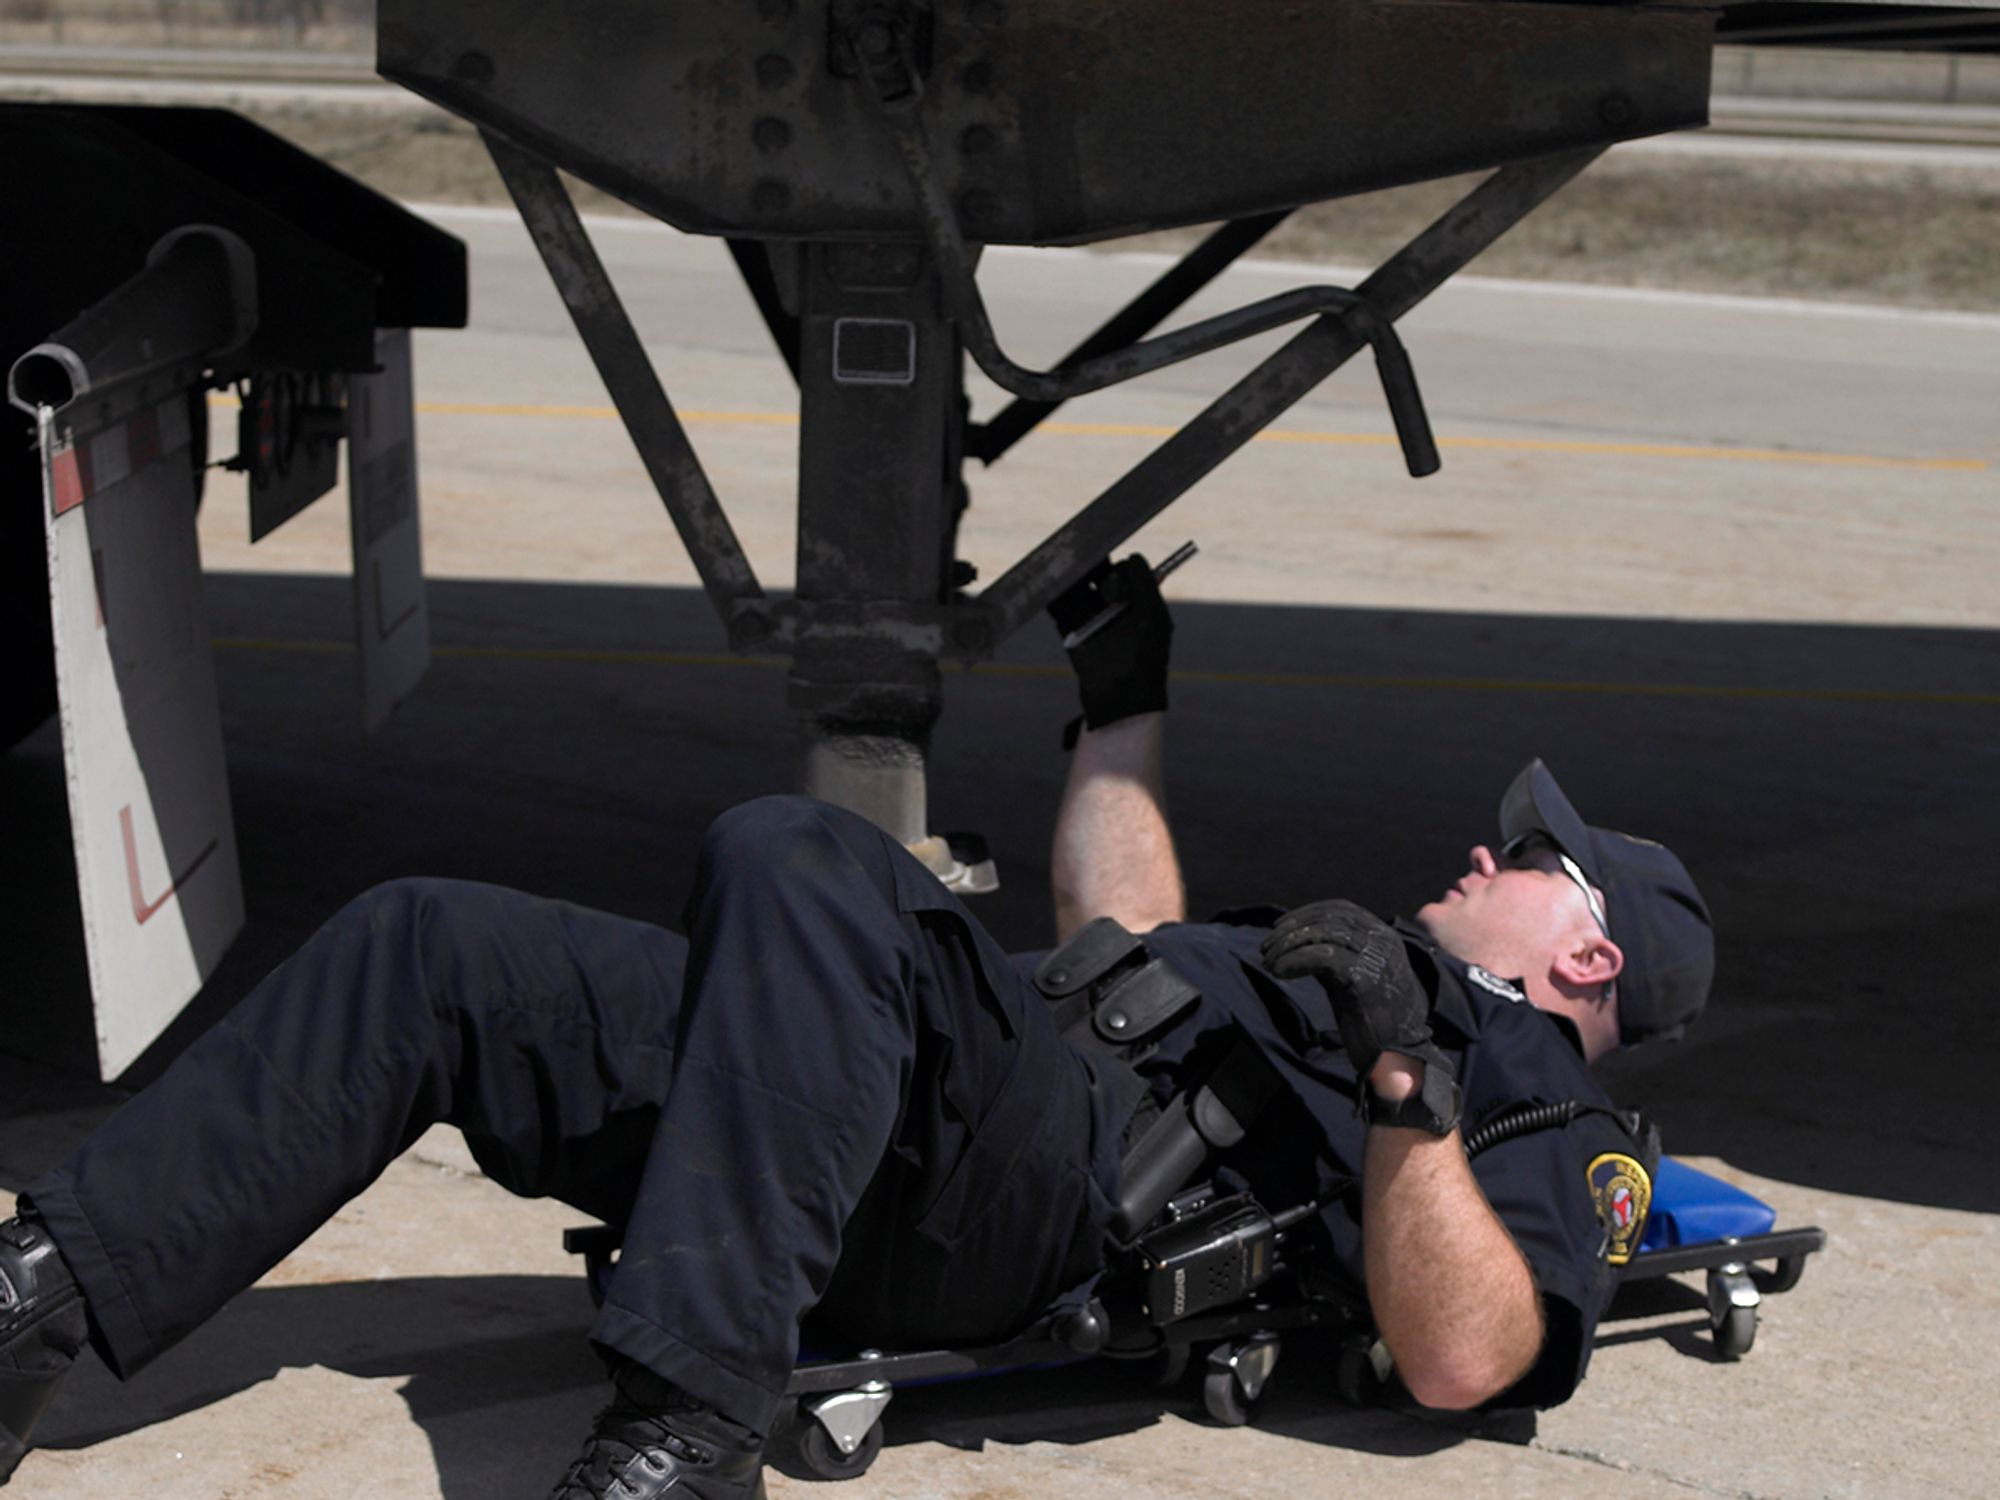
The underside
['Enforcement - DOT']
- When inspecting engine components, the officer will check the air compressor (if the vehicle has air brakes, otherwise the brake master cylinder) for any fluid leaks.
- When checking steering components, the officer will look for damage, rubbing, non-factory holes or welds, and any loose components, connection points, or hardware.
- Officers might have a “pit” or “trench” that is used for the underside inspection, if located at a fixed inspection facility, otherwise the officer will use a “creeper” to go under the vehicle.
After the “walkaround,” if conducting a full vehicle inspection, the officer will inspect the underside of the vehicle. To get started, the driver will be asked to open the hood so the officer can check all the engine and steering axle components.
When checking the steering components, the officer will be looking for damage, rubbing, non-factory holes or welds, and any loose components, connection points, or hardware. When looking at the engine components, the officer will be looking at the air compressor (if the vehicle has air brakes, otherwise the brake master cylinder) and for any fluid leaks. If doing a complete vehicle inspection, the officer may check the brake adjustment on the steer-axle brakes at this point. Of course, if the vehicle does not have a conventional configuration, this step will be adjusted accordingly.
At some fixed facilities, the officers will have a “pit” or “trench” that can be used for this portion of the inspection. In other cases, the officer will be on a “creeper” under the vehicle. In all cases, the officer is looking at the following components to determine if any of them do not meet the standards in Part 393 or Appendix A:
- Brake components, including the lines, chambers, connecting hardware, linings/pads, drum/rotor, etc.;
- Brake adjustment using a two-step process, which involves marking the brake pushrods with the brakes released when inspecting other items under the vehicle, and then measuring movement when the brakes are applied on a second pass under the vehicle;
- Driveshaft(s) and driveline components;
- Lower exhaust components;
- Inside of the frame;
- Lower fuel system components; and
- Inside suspension components.
Brake system functions
- To inspect brake system function, the officer will check the tractor protection valve and trailer emergency brakes.
- The officer will also make sure that the ABS warning lights power up and go off, confirming that the warning lights and system are functioning, and verify that the visual low-air warning is functioning.
- If the officer hears multiple or serious air leaks, or there are questions about the air compressor’s condition, the officer will check that the air system can supply the vehicle.
Once the officer is done with the underside of the inspection, the next step will be checking the tractor protection valve and/or trailer emergency brakes. In an air brake vehicle, this involves having the driver disconnect the trailer air supply hose. The officer should hear the trailer spring brakes apply, and the tractor protection valve should close and stop the air loss from the tractor. The driver will then be asked to step on the brake pedal to verify the service side of the protection valve has closed.
The remaining items are checked in close quarters with the driver. The officer will ask the driver to turn the key on. As the vehicle is going through its key-on checks, the officer will verify that the antilock braking system (ABS) warning lights power up and go off, confirming that the warning lights and system are functioning normally. The officer will also verify that the visual low-air warning is functioning. If necessary, the officer will have the driver pump the brakes to lower the air pressure to make the low-pressure alarm activate.
If the officer has heard multiple or serious air leaks, or there are questions about the air compressor’s condition, the officer will check that the air system can supply the vehicle. This involves having the driver release the parking brakes and apply the service brakes with the engine running at idle. If the air system cannot keep up with the leakage, the vehicle will be placed out of service.
Steering wheel free play or ‘lash’ and coupler system play
- “Lash” or free play in the steering system must not exceed certain regulatory values based on steering wheel diameter.
- With the chocks removed and the brakes locked, officer will “wiggle” the truck or tractor against the trailer to measure free play in the coupling system.
As part of the vehicle inspection, the officer will measure the free play or “lash” in the steering wheel and play in the coupler system.
Steering wheel free play The officer will be positioned where the steering wheel movement can be measured while seeing the steer tire. With the engine on and the steering axle wheels in the straight-ahead position, the officer will have the driver turn the steering wheel in one direction until there is a perceptible movement of the steer tire. If a point on the steering wheel rim moves more than the values shown in 570.60 (based on steering wheel diameter) before perceptible movement of the steer wheel under observation occurs, there is excessive lash or free play in the steering system. If the steering wheel diameter is:
- 16 inches or less — 2 inches of lash is allowed.
- 18 inches or less — 2.25 inches of lash is allowed.
- 20 inches or less — 2.5 inches of lash is allowed.
- 22 inches or less — 2.75 inches of lash is allowed.
Coupler play
To measure the coupling system, the officer will remove the chocks, have the driver leave the trailer brakes locked, and “wiggle” the truck or tractor against the trailer to measure the free play in the coupling system. Part of this check includes verifying that the trailer brakes are capable of holding the trailer in place.
:
enforcement-dot
FOUNDATIONAL LEARNING
- When inspecting engine components, the officer will check the air compressor (if the vehicle has air brakes, otherwise the brake master cylinder) for any fluid leaks.
- When checking steering components, the officer will look for damage, rubbing, non-factory holes or welds, and any loose components, connection points, or hardware.
- Officers might have a “pit” or “trench” that is used for the underside inspection, if located at a fixed inspection facility, otherwise the officer will use a “creeper” to go under the vehicle.
After the “walkaround,” if conducting a full vehicle inspection, the officer will inspect the underside of the vehicle. To get started, the driver will be asked to open the hood so the officer can check all the engine and steering axle components.
When checking the steering components, the officer will be looking for damage, rubbing, non-factory holes or welds, and any loose components, connection points, or hardware. When looking at the engine components, the officer will be looking at the air compressor (if the vehicle has air brakes, otherwise the brake master cylinder) and for any fluid leaks. If doing a complete vehicle inspection, the officer may check the brake adjustment on the steer-axle brakes at this point. Of course, if the vehicle does not have a conventional configuration, this step will be adjusted accordingly.
At some fixed facilities, the officers will have a “pit” or “trench” that can be used for this portion of the inspection. In other cases, the officer will be on a “creeper” under the vehicle. In all cases, the officer is looking at the following components to determine if any of them do not meet the standards in Part 393 or Appendix A:
- Brake components, including the lines, chambers, connecting hardware, linings/pads, drum/rotor, etc.;
- Brake adjustment using a two-step process, which involves marking the brake pushrods with the brakes released when inspecting other items under the vehicle, and then measuring movement when the brakes are applied on a second pass under the vehicle;
- Driveshaft(s) and driveline components;
- Lower exhaust components;
- Inside of the frame;
- Lower fuel system components; and
- Inside suspension components.
Brake system functions
- To inspect brake system function, the officer will check the tractor protection valve and trailer emergency brakes.
- The officer will also make sure that the ABS warning lights power up and go off, confirming that the warning lights and system are functioning, and verify that the visual low-air warning is functioning.
- If the officer hears multiple or serious air leaks, or there are questions about the air compressor’s condition, the officer will check that the air system can supply the vehicle.
Once the officer is done with the underside of the inspection, the next step will be checking the tractor protection valve and/or trailer emergency brakes. In an air brake vehicle, this involves having the driver disconnect the trailer air supply hose. The officer should hear the trailer spring brakes apply, and the tractor protection valve should close and stop the air loss from the tractor. The driver will then be asked to step on the brake pedal to verify the service side of the protection valve has closed.
The remaining items are checked in close quarters with the driver. The officer will ask the driver to turn the key on. As the vehicle is going through its key-on checks, the officer will verify that the antilock braking system (ABS) warning lights power up and go off, confirming that the warning lights and system are functioning normally. The officer will also verify that the visual low-air warning is functioning. If necessary, the officer will have the driver pump the brakes to lower the air pressure to make the low-pressure alarm activate.
If the officer has heard multiple or serious air leaks, or there are questions about the air compressor’s condition, the officer will check that the air system can supply the vehicle. This involves having the driver release the parking brakes and apply the service brakes with the engine running at idle. If the air system cannot keep up with the leakage, the vehicle will be placed out of service.
Steering wheel free play or ‘lash’ and coupler system play
- “Lash” or free play in the steering system must not exceed certain regulatory values based on steering wheel diameter.
- With the chocks removed and the brakes locked, officer will “wiggle” the truck or tractor against the trailer to measure free play in the coupling system.
As part of the vehicle inspection, the officer will measure the free play or “lash” in the steering wheel and play in the coupler system.
Steering wheel free play The officer will be positioned where the steering wheel movement can be measured while seeing the steer tire. With the engine on and the steering axle wheels in the straight-ahead position, the officer will have the driver turn the steering wheel in one direction until there is a perceptible movement of the steer tire. If a point on the steering wheel rim moves more than the values shown in 570.60 (based on steering wheel diameter) before perceptible movement of the steer wheel under observation occurs, there is excessive lash or free play in the steering system. If the steering wheel diameter is:
- 16 inches or less — 2 inches of lash is allowed.
- 18 inches or less — 2.25 inches of lash is allowed.
- 20 inches or less — 2.5 inches of lash is allowed.
- 22 inches or less — 2.75 inches of lash is allowed.
Coupler play
To measure the coupling system, the officer will remove the chocks, have the driver leave the trailer brakes locked, and “wiggle” the truck or tractor against the trailer to measure the free play in the coupling system. Part of this check includes verifying that the trailer brakes are capable of holding the trailer in place.
2657104730
2657105979
UPGRADE TO CONTINUE READING
RELATED TOPICS
J. J. Keller is the trusted source for DOT / Transportation, OSHA / Workplace Safety, Human Resources, Construction Safety and Hazmat / Hazardous Materials regulation compliance products and services. J. J. Keller helps you increase safety awareness, reduce risk, follow best practices, improve safety training, and stay current with changing regulations.
Copyright 2026 J. J. Keller & Associate, Inc. For re-use options please contact copyright@jjkeller.com or call 800-558-5011.